
Easy Steam Push
Official Documentation | Auto Build & Deploy Tool
Overview
Easy Steam Push is an automation tool that eliminates the manual packaging and SteamPipe upload routine. Perfect for both daily development iterations and final Shipping releases, allowing you to push builds to the live branch with a single click.
Detailed Setup and Launch Guide
Follow these steps to configure the plugin and start pushing builds to Steam directly from the Unreal Editor.
SteamCMD Configuration
SteamCMD is a mandatory requirement for interacting with Steamworks. You have two ways to set it up:
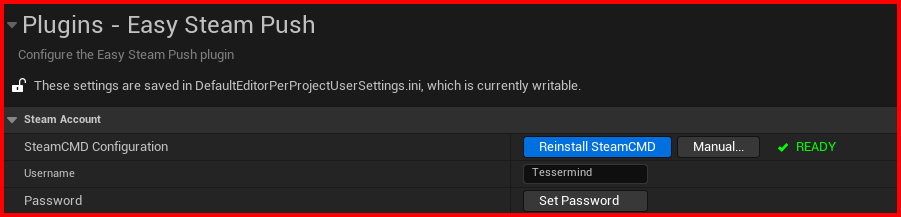
Option A: Automatic (Recommended)
Click the Install SteamCMD (Auto) button. The plugin will automatically download, extract, and configure all necessary components in the background.
Option B: Manual Installation
If the automatic method fails or you prefer manual control:
- Visit the Official SteamCMD Wiki.
- Scroll to the Windows section and download
steamcmd.zip. - In the plugin settings, click Manual and select the downloaded ZIP archive.
- The plugin will automatically extract it to the correct folder.
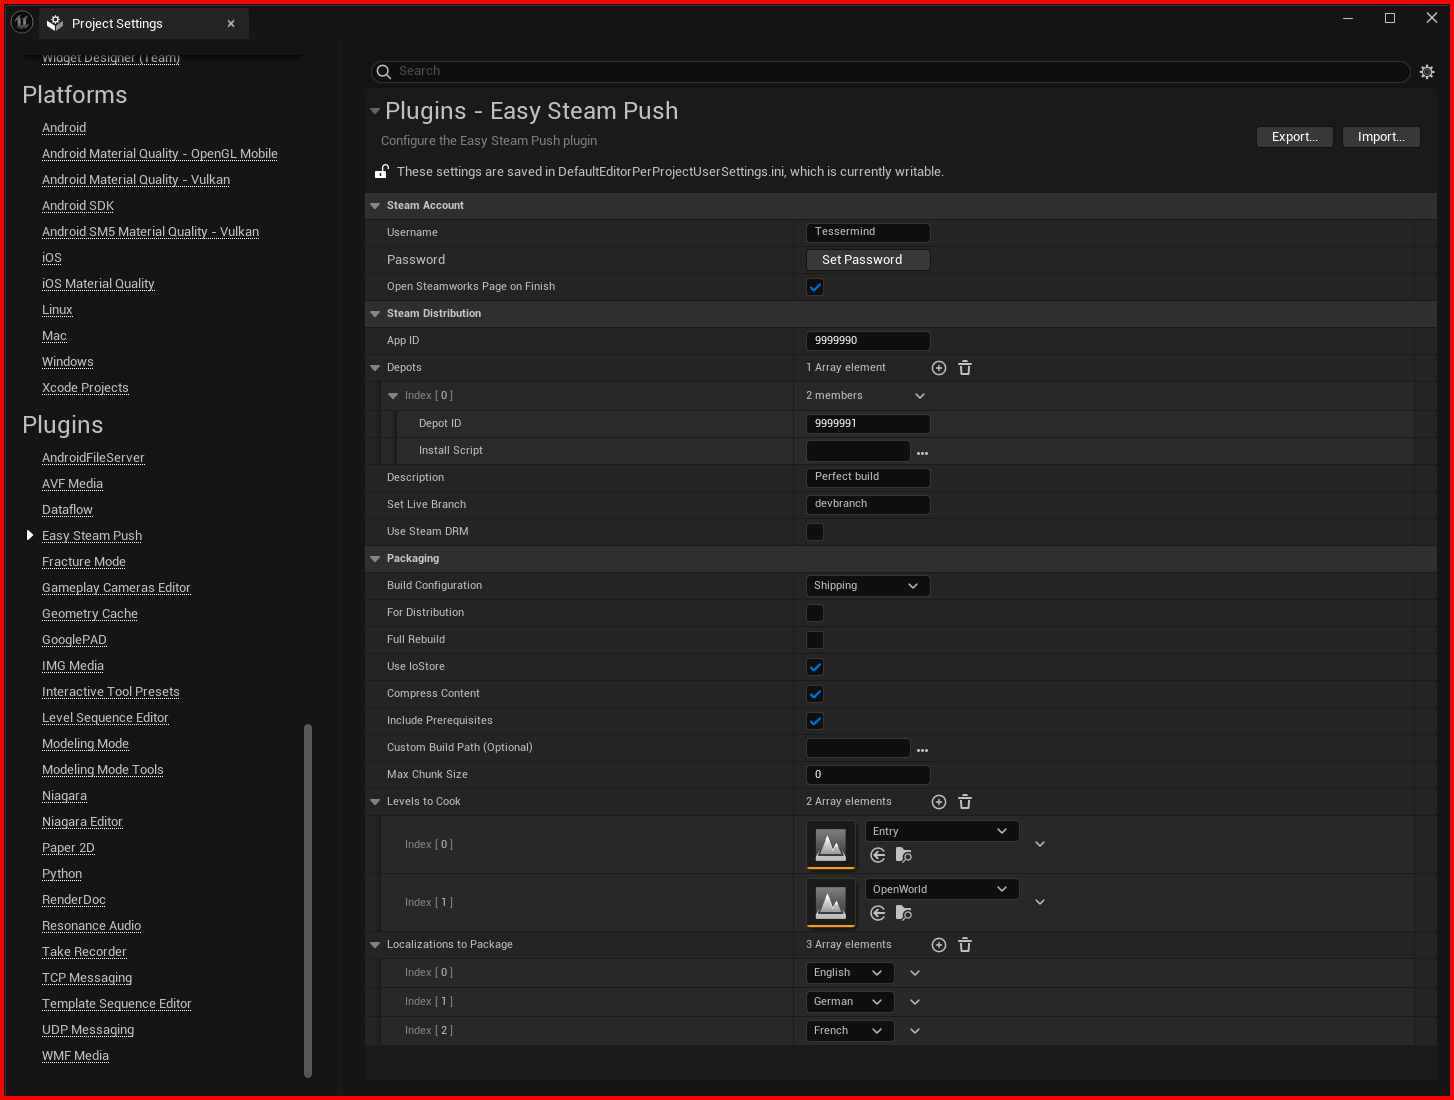
The main settings interface for Steam account, depots, and packaging rules.
Step 1: Plugin Installation
Recommended method: Create a Plugins folder in your project's root directory and copy the EasySteamPush folder there.
You can find this folder in the Marketplace/Plugins section of your engine version after downloading it from the Marketplace and adding it to the engine.
Open Unreal Engine and go to Edit -> Plugins. Ensure the Easy Steam Push plugin is activated (it will activate automatically if added directly to the project's Plugins folder).
Step 2: Integration Setup
Go to Project Settings, scroll down to the Plugins section, and select Easy Steam Push.
In the Steam Account block, first click the button to download SteamCMD components (a command prompt will open for the download).
Wait for the green Installed indicator to appear—this is a mandatory requirement for operation.
Step 3: Account and Project Configuration
- Login: Enter your Steam username and password.
- Steam App ID: Specify your Application ID from the Steamworks dashboard.
- Depots: Add a new element to the array and specify the Depot ID. Typically, this is your
App ID + 1. - Branches: In the Set Live Branch field, specify the target branch (e.g.,
devbranch). If left empty, it will go to the default branch. Note: auto-publication to Live might not work for the default branch; this requires verification.
Step 4: Packaging Settings
- Build Configuration: Select the required build type:
Development,Shipping, orDebug. - Parameters: Check the boxes as needed for
For Distribution,Full Rebuild,Use IoStore, orCompress Content. - Path: The Custom Build Path field can be left empty—the plugin will then use the default path, which is the preferred option.
Step 5: Content Selection and Launch
- Levels to Cook: Add the levels (maps) that should be included in the build.
- Localizations: Select the required localization languages.
- Final Action: Click the upload button. A request will be sent to your Steam Guard mobile app—confirm the action there.
From now on, updating your build will only require a single button click and confirmation on your phone.
Frequently Asked Questions
The plugin uses standard Unreal Engine build parameters. If the build fails, try to use the native Package Project tool. If it fails there too, the issue is likely within your project logic or blueprints, not the plugin.
This is a known behavior of SteamCMD. If your mobile app is already open, the prompt might not pop up. Close and reopen the Steam app on your phone to refresh the Steam Guard status.
No. All required components are managed by the plugin. Simply click the download button in the plugin settings as described in Step 2 of the guide.
Yes. Your Steam credentials are encrypted before being saved to your local project configuration files. They are only used to authenticate the secure SteamCMD session.